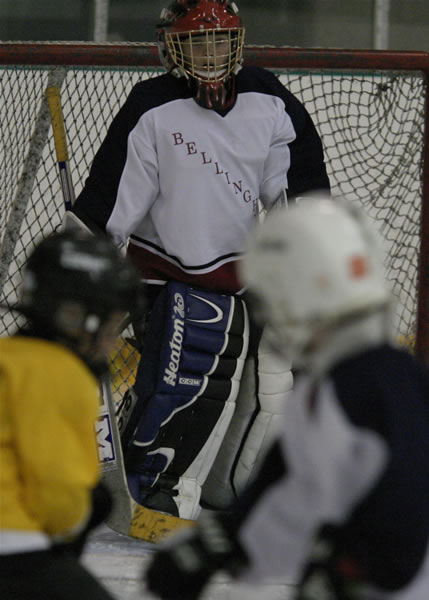
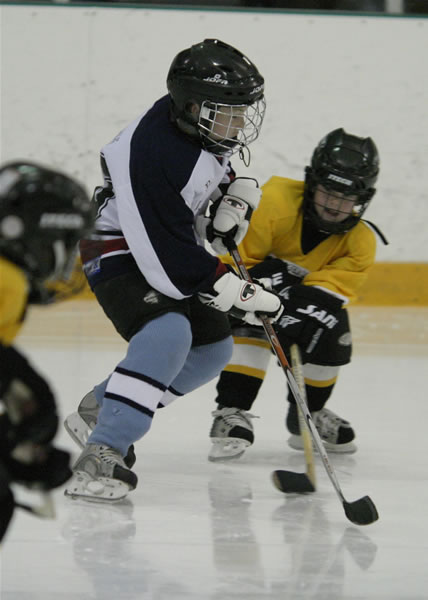
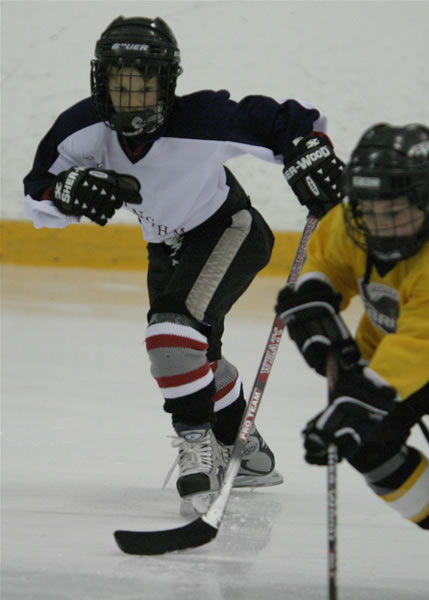
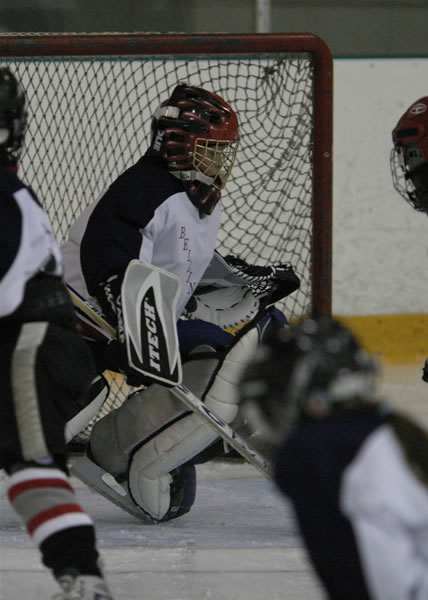
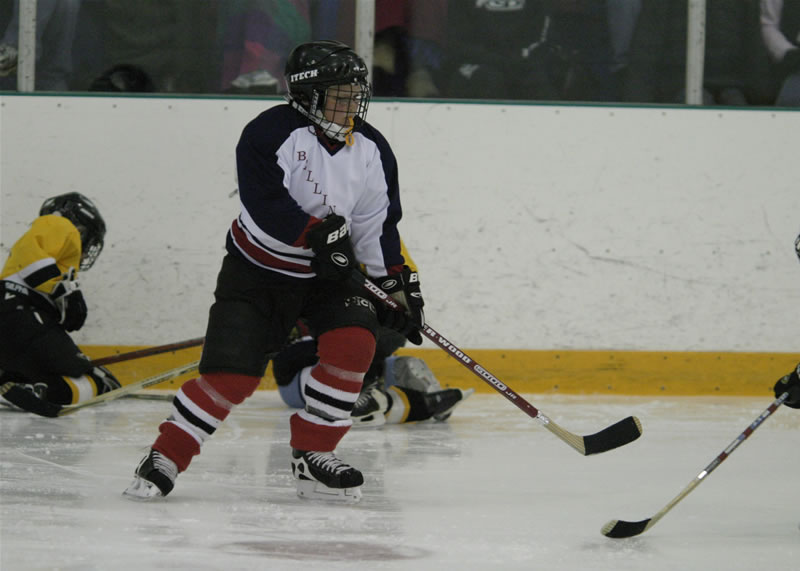
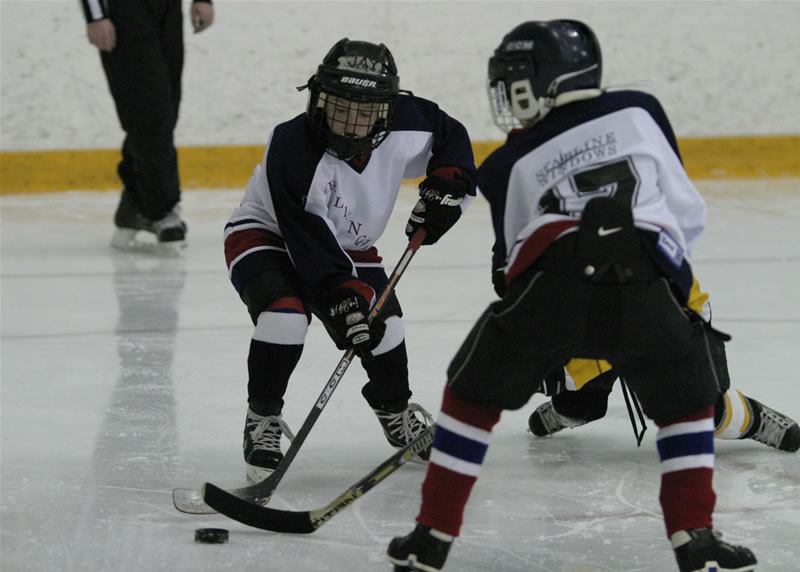
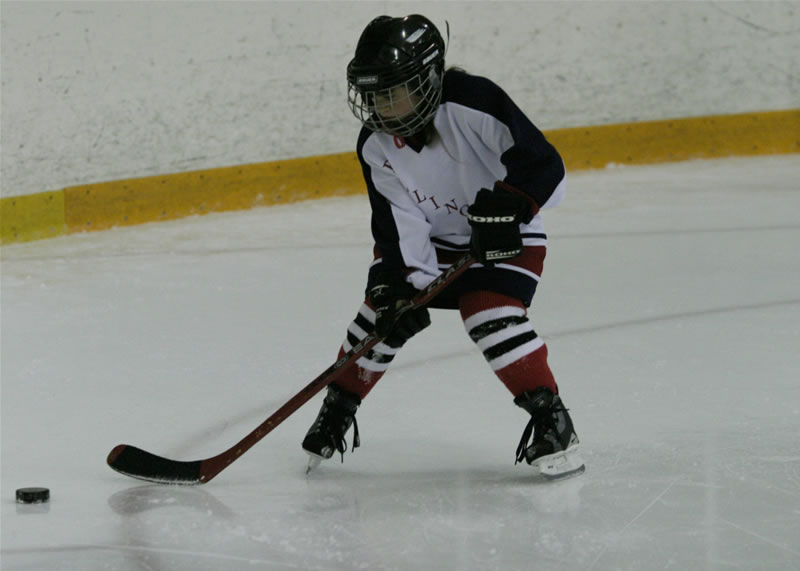
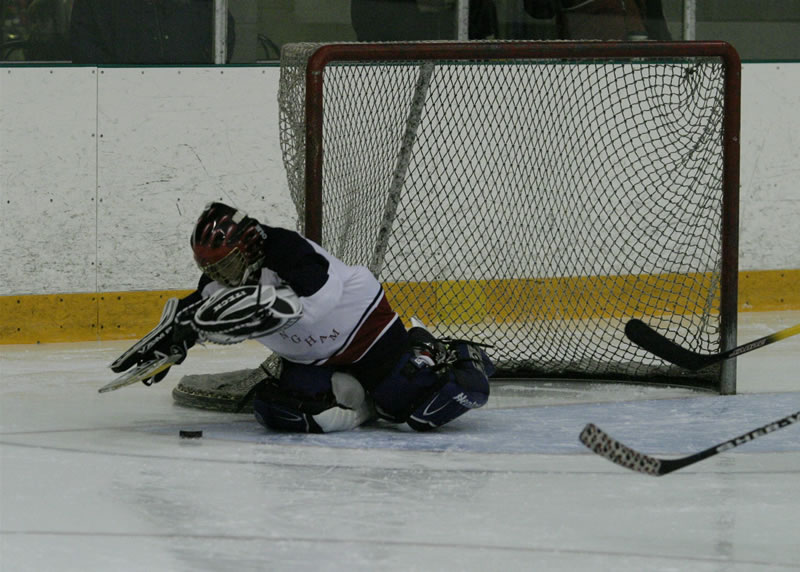
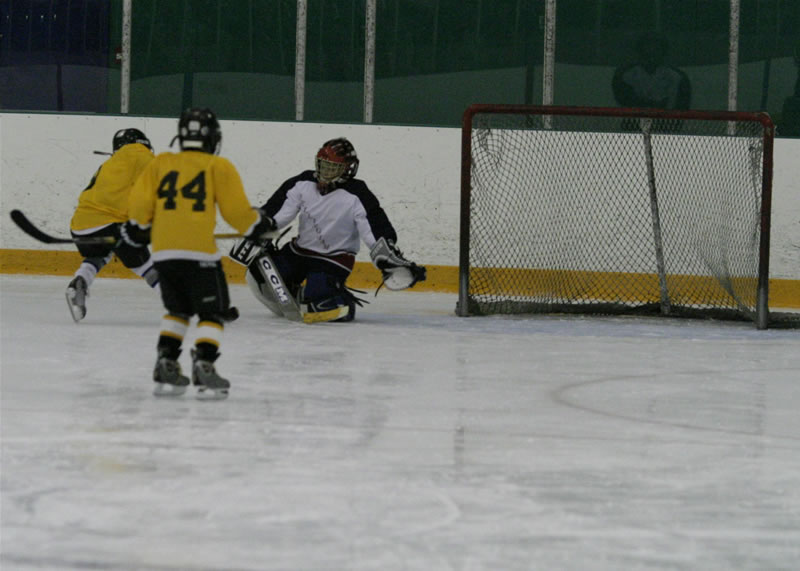
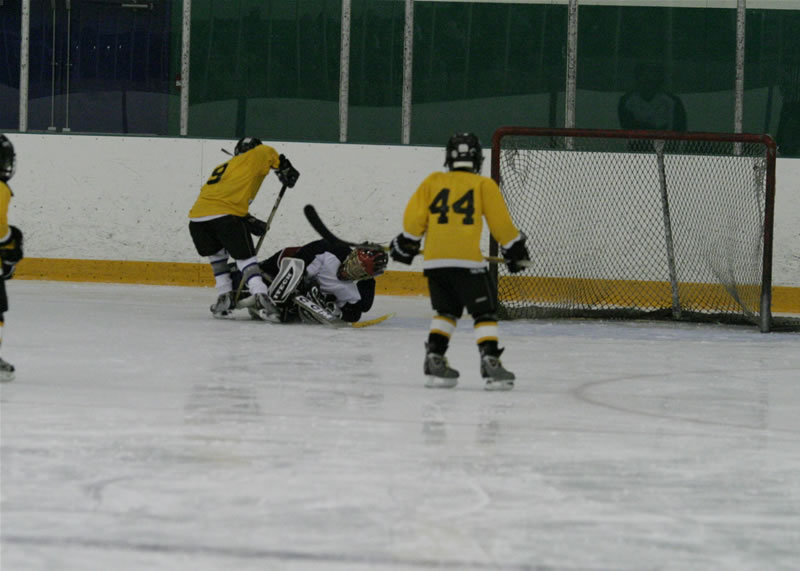
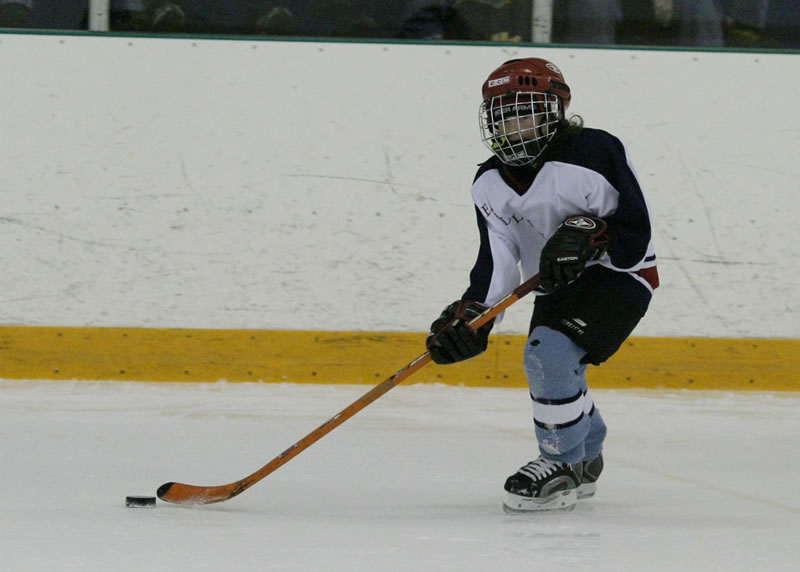
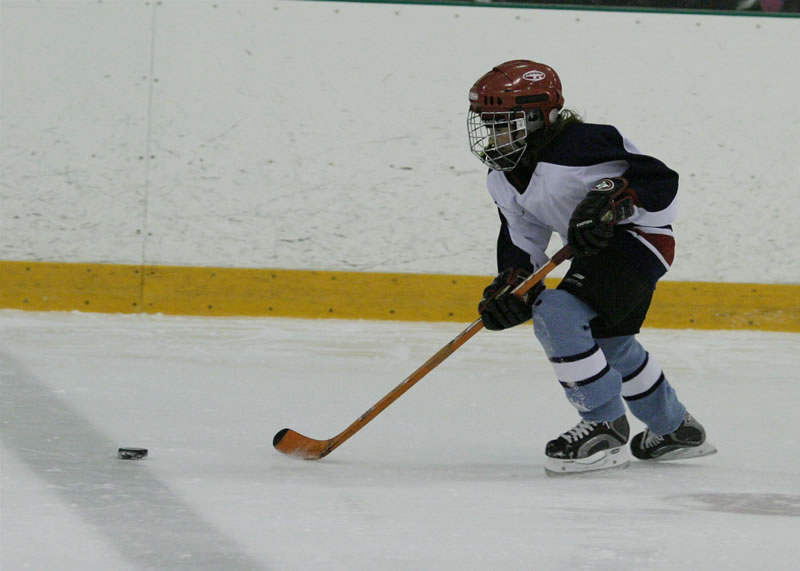
Bellingham Stars vs. FV Bruins '99 June 4, 2006
The
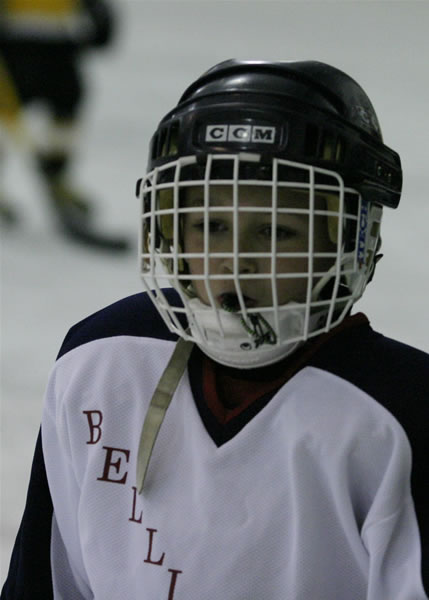
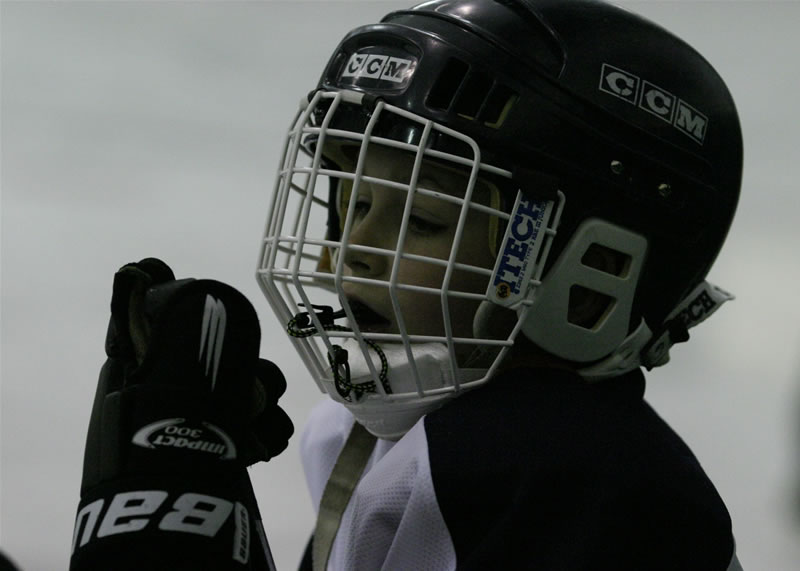
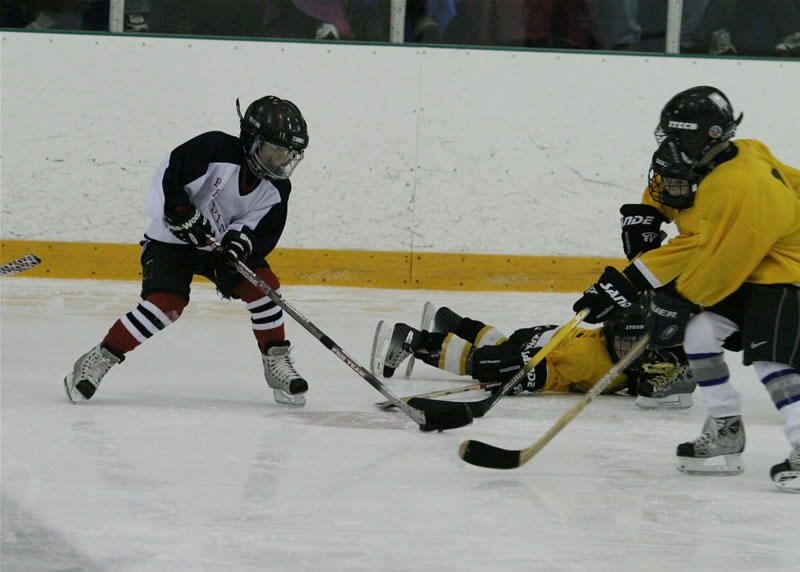
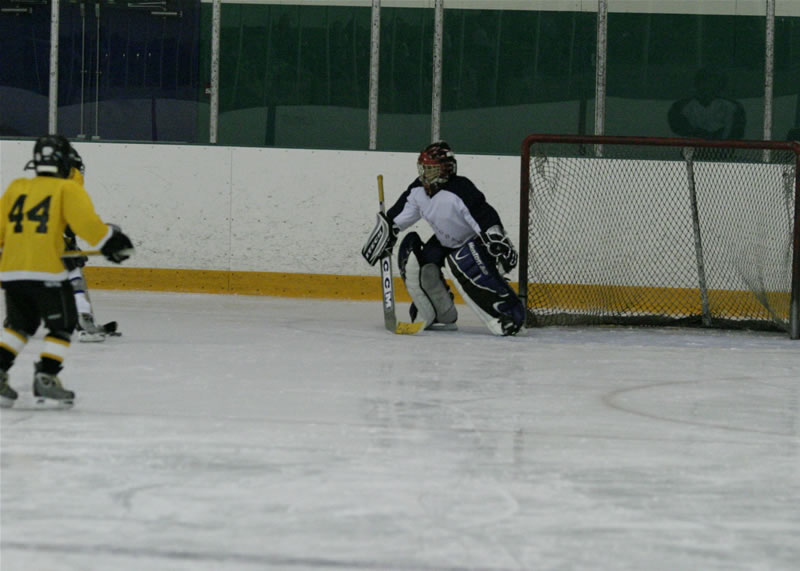
Bellingham Stars Novice hockey team
defeated the
FV Bruins '99
.
Home
Schedule
vs. Sports Zone 05/14/2006
vs. Mud Sharks 05/28/2006
vs. FV Bruins 06/04/2006
STAR NEWS
Player Cards
(1) Click small image above, see large version below.
(2) Click panel number here to see more photos -->